

If conditions are met on the transaction
In this section, you can specify the conditions under which the comment can be added. In our example, the comment can be added to Transaction Type Invoice in three Statuses.
Who can comment on the transaction?
Users in following groups can add comments to them – here you can specify the Users or Groups of the Users who can add comments to the Transactions.

Sending of the email after the comment has been added
Send email with the comment – after the comment is added, the system can send an e-mail to some Users, Groups of Users, or Assignments Users. You can learn more about the advanced options for this section in our Workflows article.
The view of the comment on the timeline
The comment is visible on the Transaction’s timeline. Admins can also see the e-mails sent after the comment has been added.


In Comment Permission, you can set up that Users or Groups of Users can comment on the Transaction regardless of whether it is assigned to them.
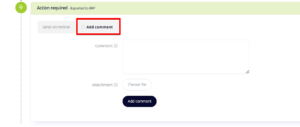
General setup
Name (internal) – name should be clear and explanatory
Button name – the name of the button used for adding a comment
Active? – mark as active to start using it
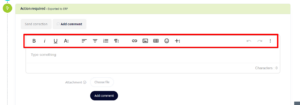
WYSIWYG (Froala Editor?) – “What you see is what you get” – enables the User to edit the layout of the comment without having to type the names of layout commands
Full width? – this will expand the comment window to the full width of the screen
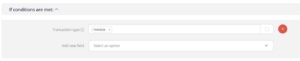
If conditions are met on the transaction
In this section, you can specify the conditions under which the comment can be added. In our example, the comment can be added to Transaction Type Invoice in three Statuses.
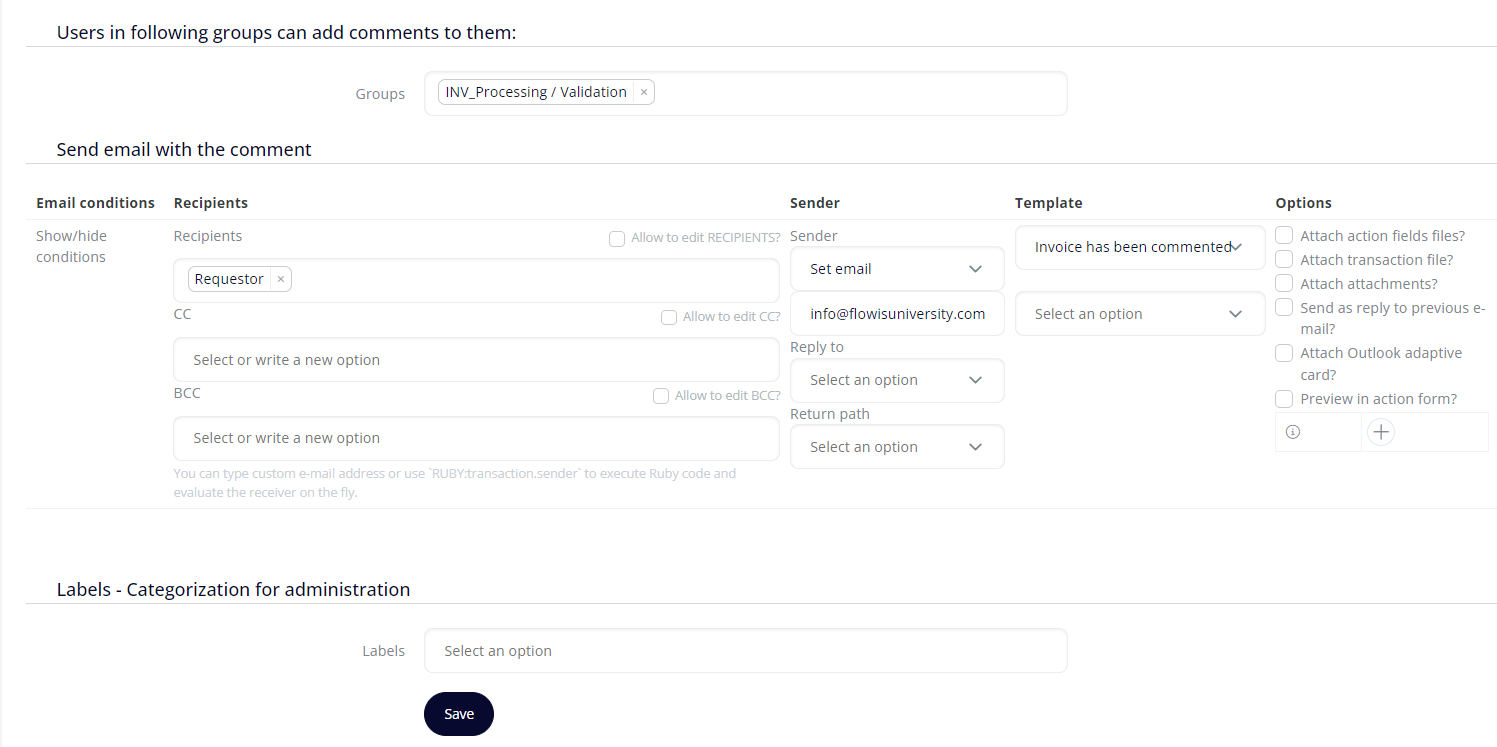
Who can comment on the transaction?
Users in following groups can add comments to them – here you can specify the Users or Groups of the Users who can add comments to the Transactions.
Sending of the email after the comment has been added
Send email with the comment – after the comment is added, the system can send an e-mail to some Users, Groups of Users, or Assignments Users. You can learn more about the advanced options for this section in our Workflows article.
The view of the comment on the timeline
The comment is visible on the Transaction’s timeline. Admins can also see the e-mails sent after the comment has been added.
